
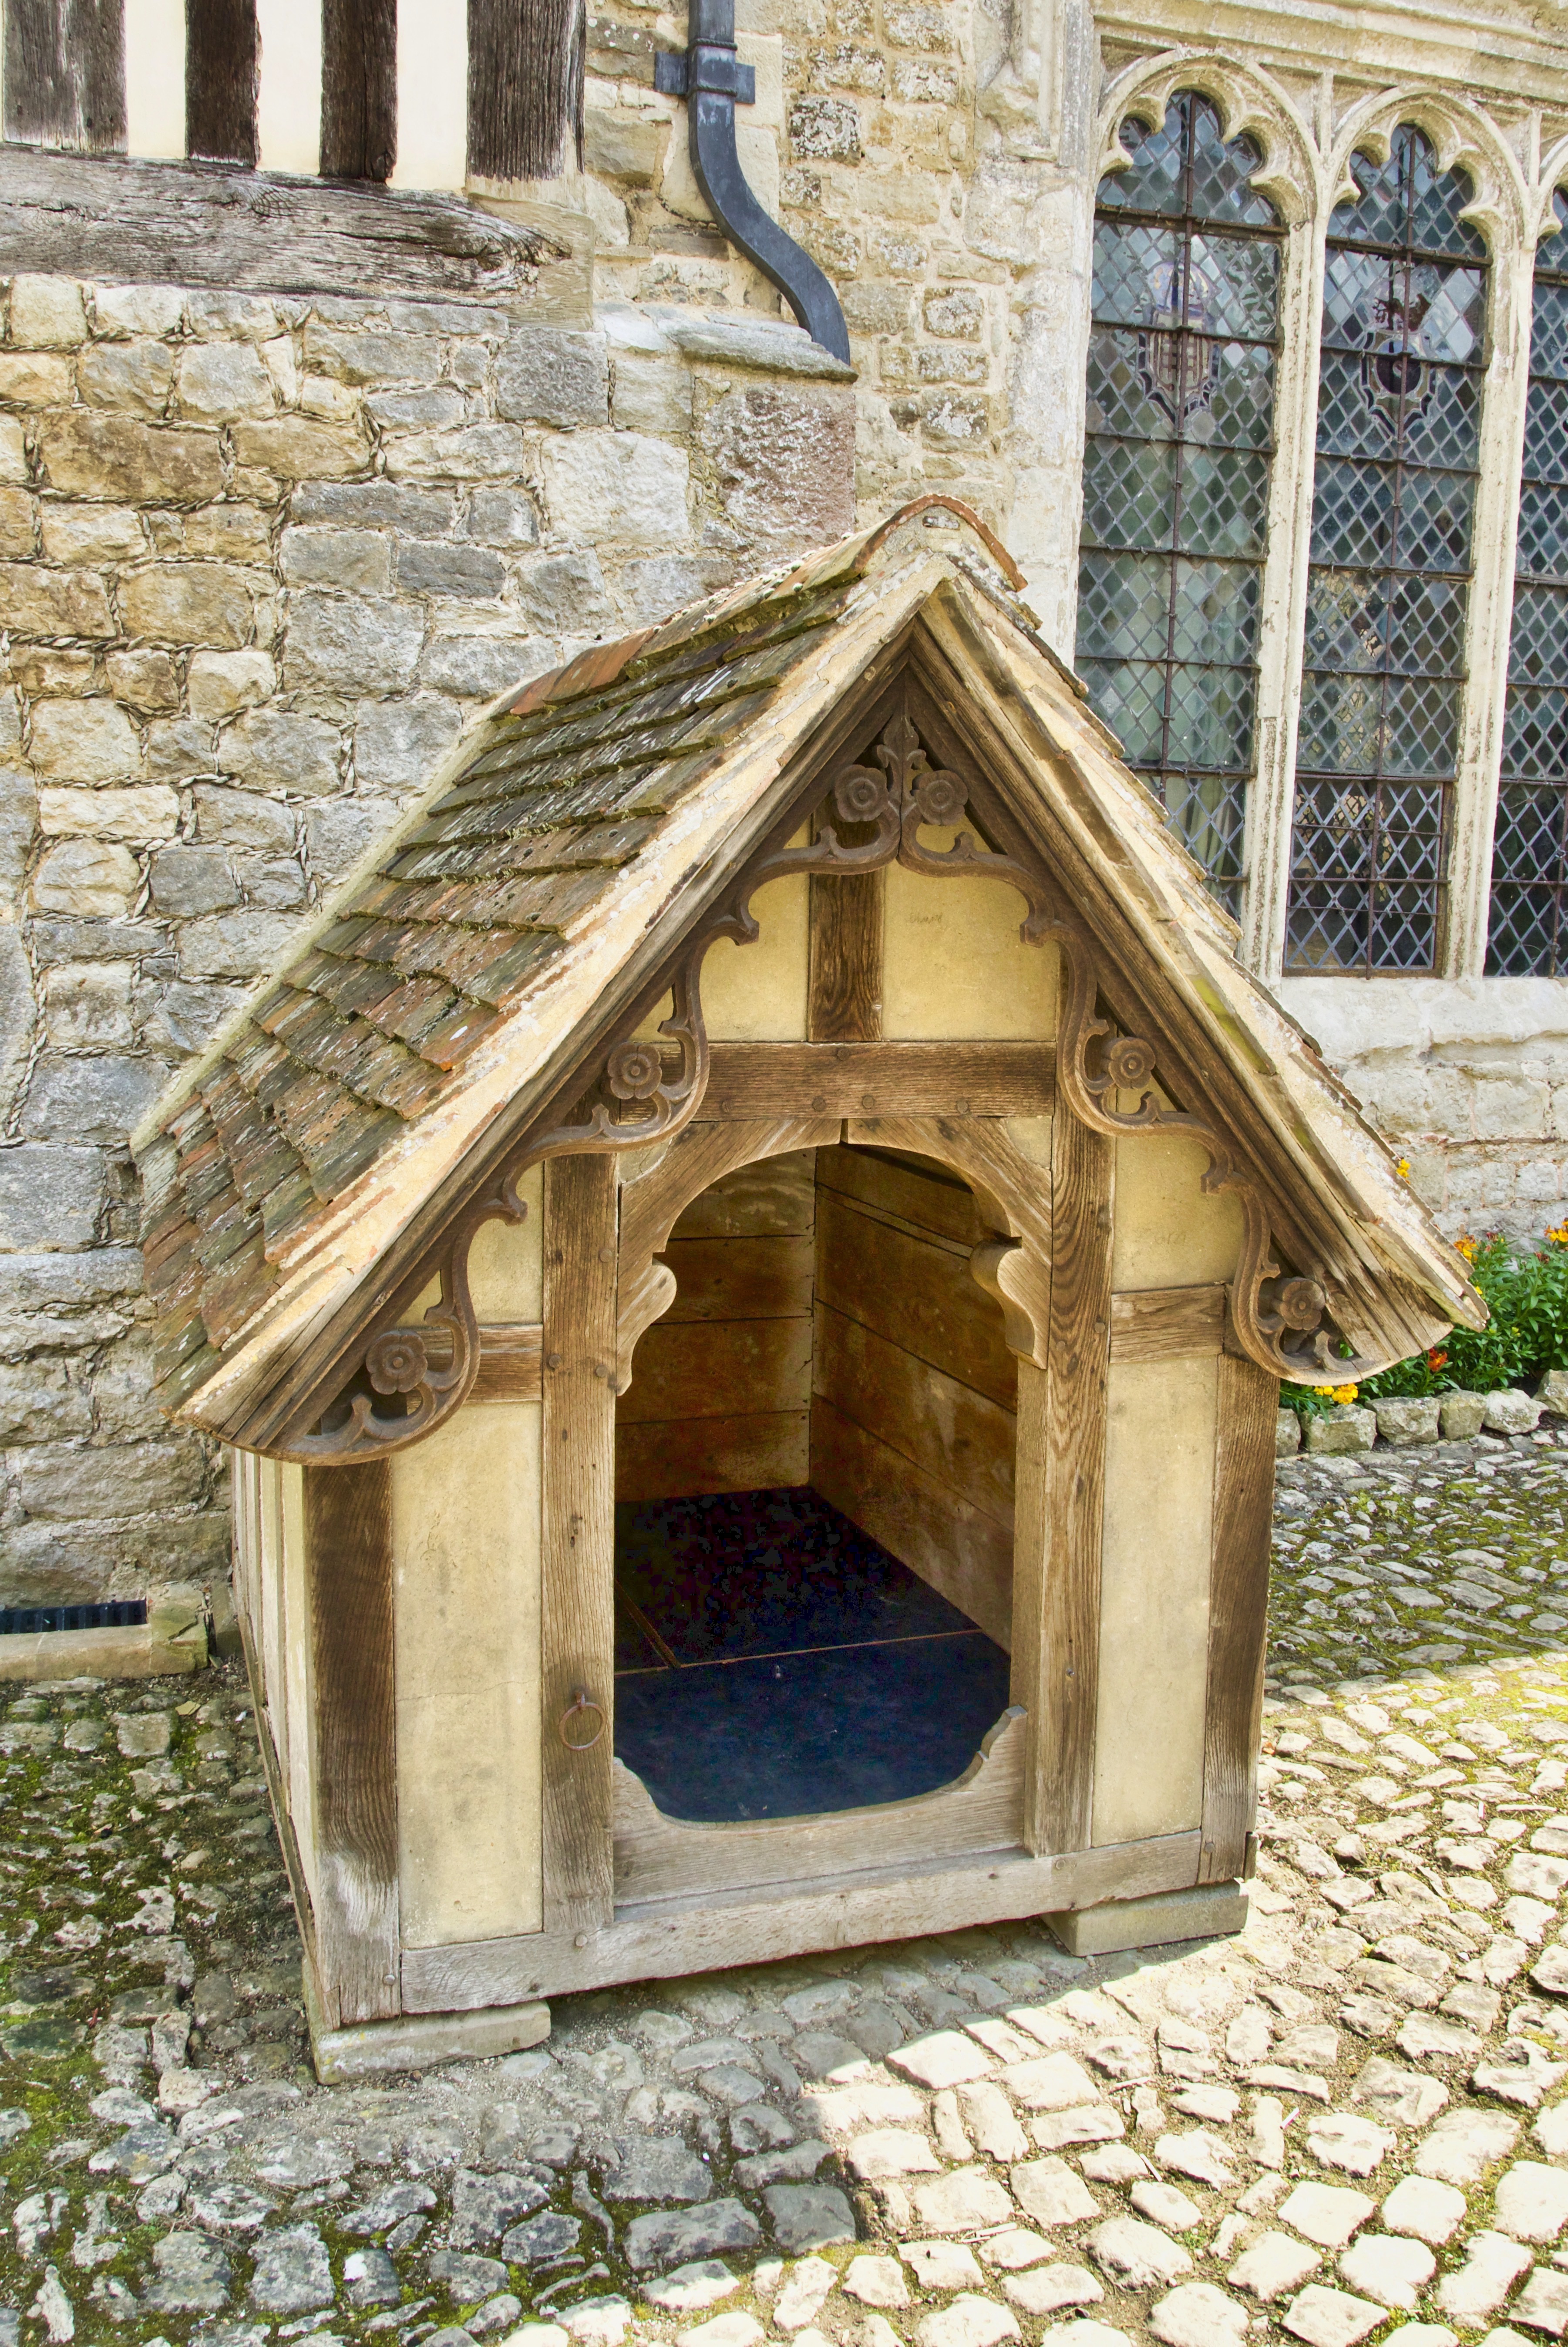
Building a Doggy Palace
Dogs are said to be man’s best friend. Whilst some dogs will spend their lives in the luxury and comfort of your home, other will spend their time sleeping outside, whilst they are taking care of you, your family and your home.
Don’t these dogs also deserve a nice comfortable shelter?
So now you must decide, do you buy a nice plastic shelter from a box store or a cheaply handcrafted kennel, sold along the roadside (in South Africa)?
These can easily set you back R1600 or $100 and the build quality is rather shoddy.
Why not build one yourself? Provide your fury friend or rather that extended family member with a labour of love.
But you are not a carpenter and have never done any woodworking projects before. Well, no problem. Neither am I really. I just someone with some tools who creates nice woodworking projects.
So, let’s start! You will need the following:

Material list
40 to 60 pallet boards
A sheet of plywood
Wood glue
Wood screws
Wood Sealer
Waterproof Roofing Paint
Sandpaper
Nails
Tools
Grinder (Optional)
Sander (Optional)
Drill
Impact Driver (Optional)
Hammer
Squares
Clamps (Optional)
Circular Saw
Hand Saw
Jig Saw (Optional)
Drill Bits
Table Saw (Optional)
Tape Measure
Bubble Level
Planner (Optional)
18 Gauge Nailer (Optional)
Compressor (Optional)
Paint Brushes
Pencil and Paper
Dust mask
Safety Glasses
String
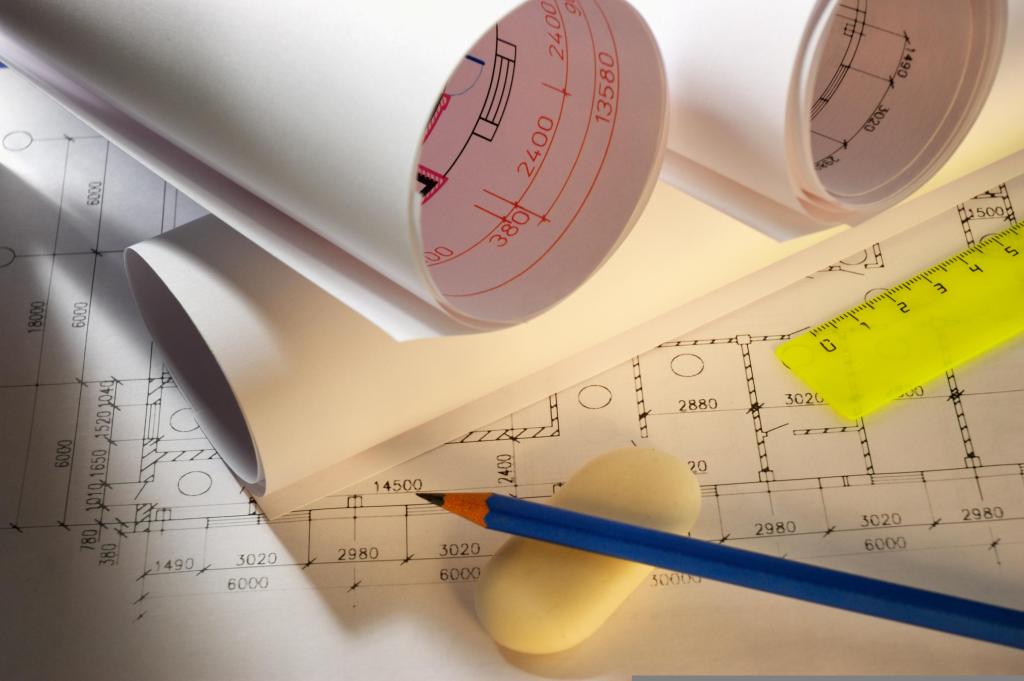
Plan Ahead
As with any project, you must plan. Sketch your idea on a piece of paper. Firstly, consider the size of your dog.
Measure you dog from its nose with the head pointing forward to where the tail begins.
Secondly, measure the full height of the dog from the base of the front paw to the head fully upright. Now you have the minimum dimensions to work with.
Add about 500 mm in height for the internal roof height and add 300mm to the length of your dog.
Next, it’s best to determine the type of roof you want to have. Will it be a nice gable roof or will it be a lean-to roof. A flat roof is not recommended for kennels that will be exposed to the elements such as rain.
Whilst I only use pellets wood for the construction of my kennels and plywood for the roof, you may have other ideas. Maybe you would prefer a metal roof.
You may also want to add your own fancy finishing touches to the kennel or an extended porch.
Whatever your preferences, always have a plan. You can use a pencil and paper or be fancy and use software like Sketch Up (Totally not sponsored) to do your design.

Prepping you wood
Professional woodworkers start by milling the wood. This is where the wood will be run through a thickness planner and a jointer. We don’t need to do that
I use my grinder with an 80-grit sanding attachment and sand the wood smooth on all sides. You wouldn’t want any splinters to pierce your skin.
A light bit of hand sanding with a 100-grit sandpaper would go further to ensure you have nice smooth wood. A sander, if you have one, will make this job lighter.
Always wear a mask and goggles whilst sanding the wood to protect your eyes and your lungs from dust.
The thickness of each individual board is not important in this build.
I will then sort the boards and search for the ones that have little to no crowning which will be used to create my corner posts. Crowning refers to boards bending in the middle.
Building the Corner Posts
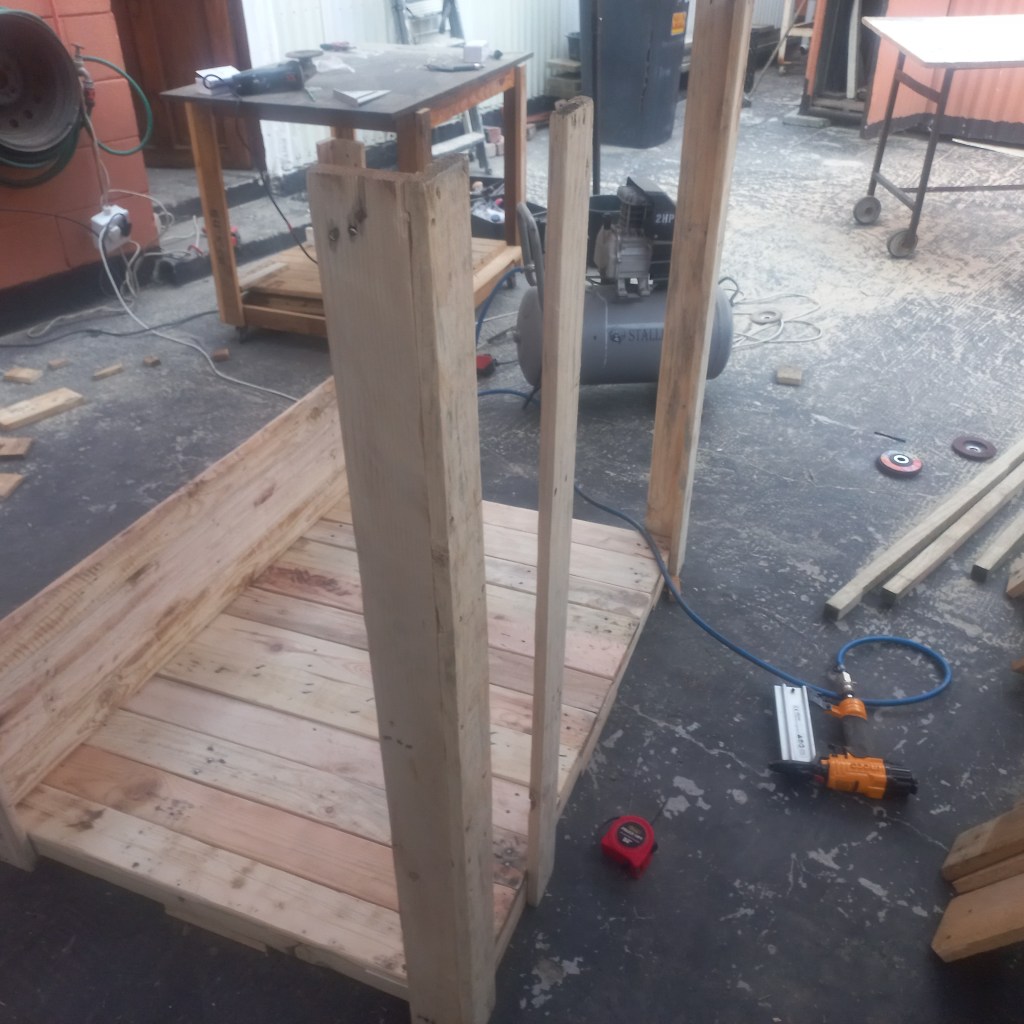
With a gable or flat roof, all four corner posts will be the same height. With a lean-to roof either the front or the back posts will be taller depending which way you want the roof to lean to.
Cut eight boards to the desired length of the posts you need. This length is determined by height of my dog plus 250 mm to accommodate the floor for a gable roof or add an additional 550mm to the short posts and 750 mm to the long posts for lean-to roofs. These are the minimum heights.
Predrill four holes into the face four of the boards along one side, evenly spaced from the top to the bottom. These holes will be used to screw the boards together to fabricate the posts.
Two boards are the joined to together forming a 90-degree L-shaped post. Do this by applying glue to the edge of one board and the butting it up to the face of another. These boards can be clamped or use two nails just to keep them together. The screw the boards together. Wipe off any excess glue.
Set the posts aside to dry.
Building the Walls
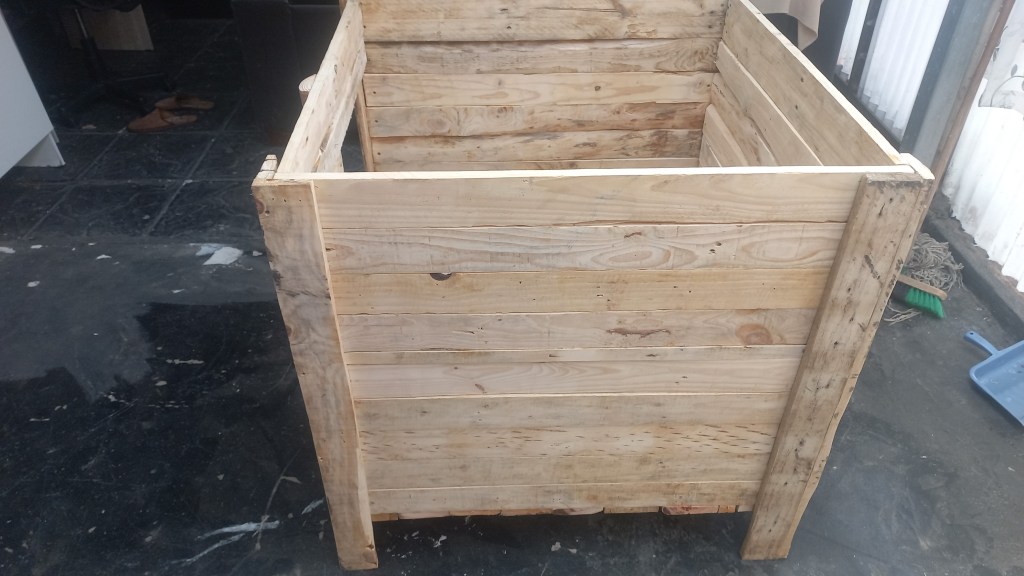
Generally, you may want to have a rectangular shaped kennel, but I prefer a square shape as it give my fury friend more room to move. This however does create a bigger footprint for the kennel.
My walls are constructed by fastening boards between the inside corners of two posts. The length of these boards is determined by the distance between the two inside corners in relation to the measurement of my pet. With a gable roof the height of my dog determines the height of my walls.
Measure up 150 mm from the bottom of the corner post. This will be the bottom of the wall and boards butted against each other all the way to the top. The top board may need to be trimmed in width. Do this to the other side.
With the two side walls constructed, its time to connect the side walls to form the front and back walls. Because I’m building a square, the length of these boards will be shorter than the length of the side walls to accommodate the thickness of the boards of the side walls.
The entrance will be accommodated in the front wall, and this cut-out should be the height of my pet plus 100mm to allow easy access to the kennel.
On the front and back end, I will extend the gable ends to 500mm at the peak above the side walls. The boards are glued and the screwed down when fixing them to the corner posts. Predrilling is recommended to prevent the wood from splitting.
For the floor of the kennel, I will simply run boards from one side wall to the other at the base of the walls. The glue must be given time to dry.
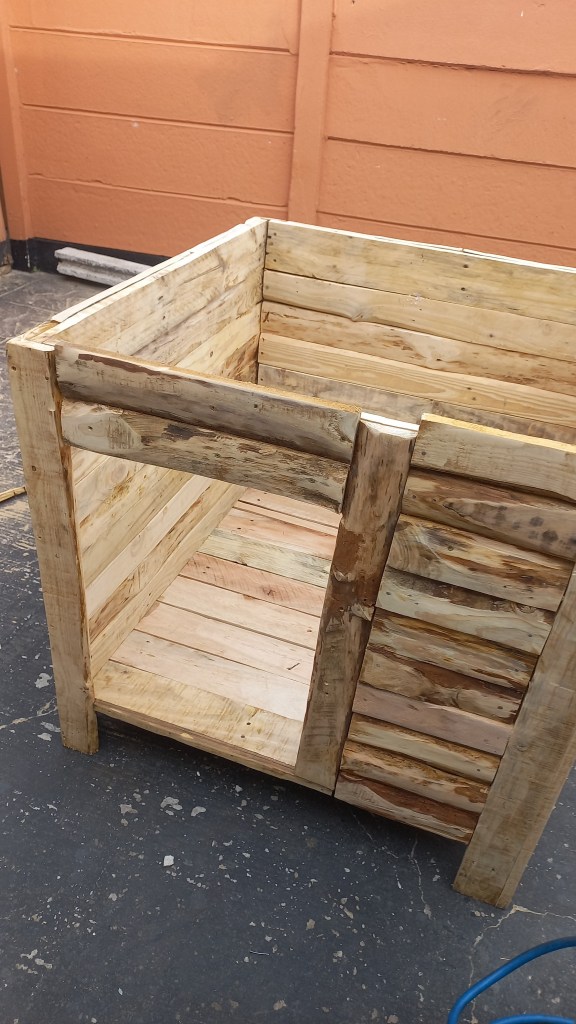
I will now clad the outside of the kennel with 500mm length of boards set out in a staggered brick patten. These boards are only lightly hand sanded to keep the texture as a finishing.
Finally sealed the whole structure with wood sealer and allow to dry.

Constructing the Roof
With a gable roof, I will need to construct at least four roof trusses. The trusses will have a 100mm hang over on either side. The trusses are simple V-shaped trussed with an open bottom.
From the peak of the front gable end to the peak of the back gable end run a string line. Cut a block 100mm in length. Fix this block to one side wall of kennel flush with the top of the wall.
Measure from the string line to the top outside of the block. This will give you the diagonal length from the centre top point of one side of the truss to the bottom point of the truss overhang. This will also give the angle of the cuts on each end of the truss pieces. Cut eight pieces.
Now cut eight triangles measuring 150mm at the base with the side angles being the same angles when the truss pieces are joined together at the peak. Glue and screw these junctions for extra strength.
Give the trusses a good sanding and seal with wood sealer. Leave them to dry. When dried, fix the trusses to the kennel by fixing the front and back trusses to the inside of the front and back gable walls, ensuring the overhangs are even on both sides. These trusses can be screwed to the walls.
Measure the distance between inside of the front and back gable end trusses. Divide that in three. On the side walls mark out these measurements and centre the two remaining trusses on this measurement.
Fix with long screws to the side walls. To maintain the spacing between the two centre trusses, add a spacer either side of the trusses for additional strength and to maintain your spacing.
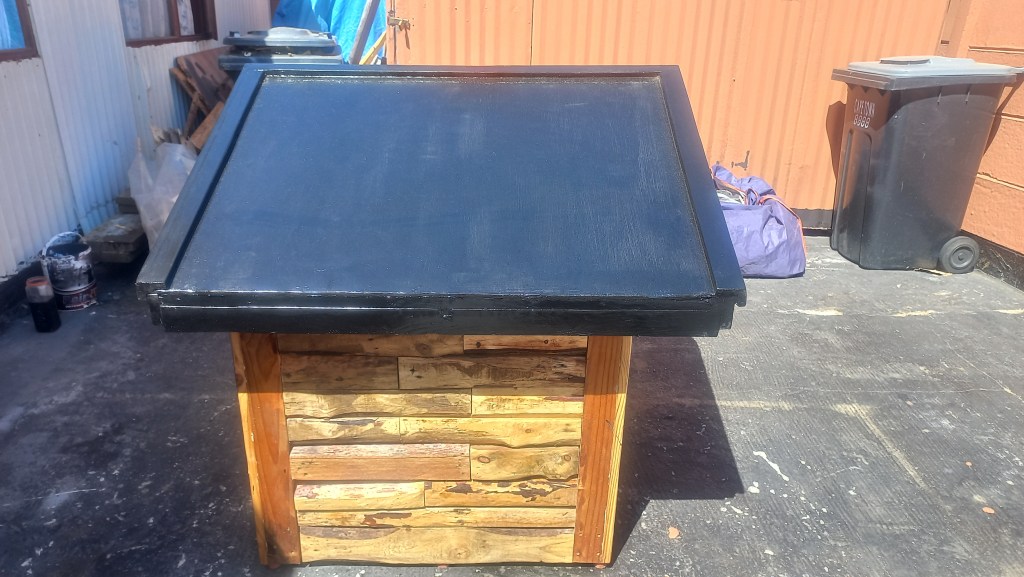
Now it’s time to cut the plywood. Measure from the top of the centre of the truss to the top end corner of one side of the truss. Then measure a 100mm overhang for back wall to a 100mm overhang to front wall.
Cut two pieces of plywood this size with a bevel at the same angle of the trusses on one of the long sides. Sand the plywood and apply a coat of waterproof roof paint on all sides of the plywood.
Attached the sheets to the kennel with screws. Finish by filling the screw holds and painting the roof with another coat of roof paint.
Depending on your taste, you may add fascia and barge boards or any other finishings you may desire.

All Done
Build time for this project is two to three days.
Now you have a wonderful Doggy Palace built with love. Remember to give the roof a fresh coat of paint and wood sealer to the walls annually to preserve your hard work for years to come.

Leave a Reply